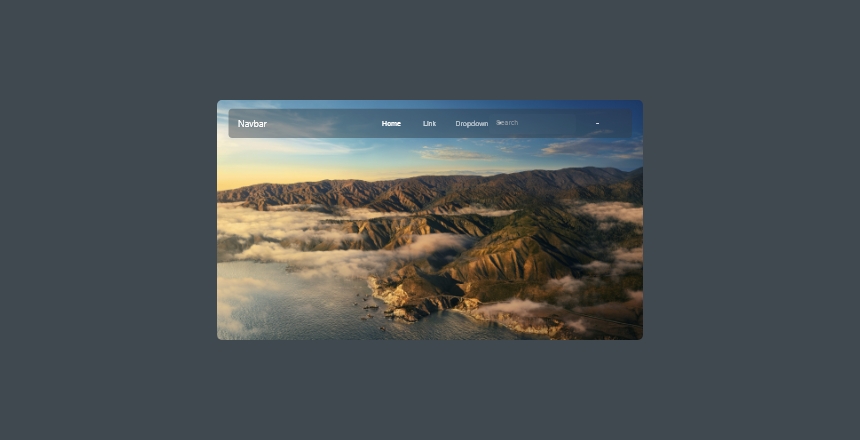
It is super easy to create a blurred animated sticky header with Elementor Pro. So, make sure you have Elementor Pro installed.
Let’s first see, how to make that sticky, because that is actually an option.
Make sure your header has a height of 135px and a bottom margin of -135px (or the same height or minus margin) as well so that it may appear at the top of your first section on the initial load. Give it a higher z-index than other sections of the page.
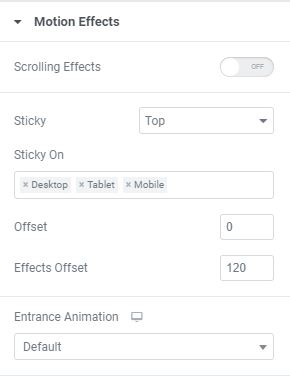
Navigate to advanced > motion effects > and set your section sticky on Top.

Now select your header section > navigate to advanced tab > custom CSS, and put the below CSS:
selector.elementor-sticky--effects{
background-color: rgba(0,0,0,0.4)!important;
backdrop-filter: saturate(180%) blur(20px);
-webkit-backdrop-filter: saturate(180%) blur(20px);
}
selector{
transition: background-color 1s ease !important;
}
selector.elementor-sticky--effects >.elementor-container{
min-height: 70px;
}
selector > .elementor-container{
transition: min-height 1s ease !important;
Now, you can play with this CSS to achieve the animation and blur as per your requirement. For example, you can change the blur from 20px to something else, you can change the background alpha color, change the transition ease effect, or delay.
As such, you can easily create a blurred header that is sticky to the top.
Bonus Read
You can keep this sticky header for your homepage where you have a hero section, and keep the different header without blur and effects on other pages. You can do that by using display conditions.


Hi, I also have a dropdown in my menu, how do I get the same blur effect on that?