
Are you looking for ways to enhance your blog’s single-post layout? Elementor can help you do just that! With its drag-and-drop interface and customizable widgets, it allows you to create a stunning single-post layout that is sure to impress your readers. In this blog, we will guide you on- How to Create a Single Post Layout with Elementor.
We’ll cover everything from installing required plugins to setting up a new single blog template and adding customized widgets like featured images, social share options, an author box, and many more. Additionally, we’ll provide tips and resources on how to make the most of Elementor for your blog’s layout.
Read on to learn how to perfect your single post layout with Elementor!
Introduction to Elementor for Single Post Layout
If you’re looking for an easy way to create unique single-post layouts on your WordPress website, consider using Elementor. This popular page builder offers a wide range of customizable widgets and templates that allow you to design stunning blog layouts without any coding knowledge.
Whether you prefer minimalist or modern styles, Elementor has got you covered. With its intuitive interface and drag-and-drop functionality, creating custom layouts for your single post pages has never been easier!
Perfecting Your Single Post Layout with Elementor
Customizing a single post layout with Elementor is easy with its drag-and-drop interface. With options to choose from pre-designed templates or create your unique design, the possibilities are endless!
Enhance user engagement by adding widgets like related posts, author bios, and social media sharing buttons. It’s crucial to also optimize your layout for mobile devices while previewing your changes in real time before publishing.
How to Create a Single Post Layout with Elementor
To create a single post layout with Elementor, you can follow these steps👇
Install and activate the Elementor plugin
If you haven’t already, install the Elementor plugin on your WordPress site, and activate it.
Using a page builder like Elementor Free and Elementor Pro can save a lot of time and effort while creating a single post template for displaying particular categories or blog posts in grid layouts.
With so many elements at your disposal, such as widgets like featured images or post grid lists that can be customized with style tabs like text color or typography settings, creating a new template has never been easier.
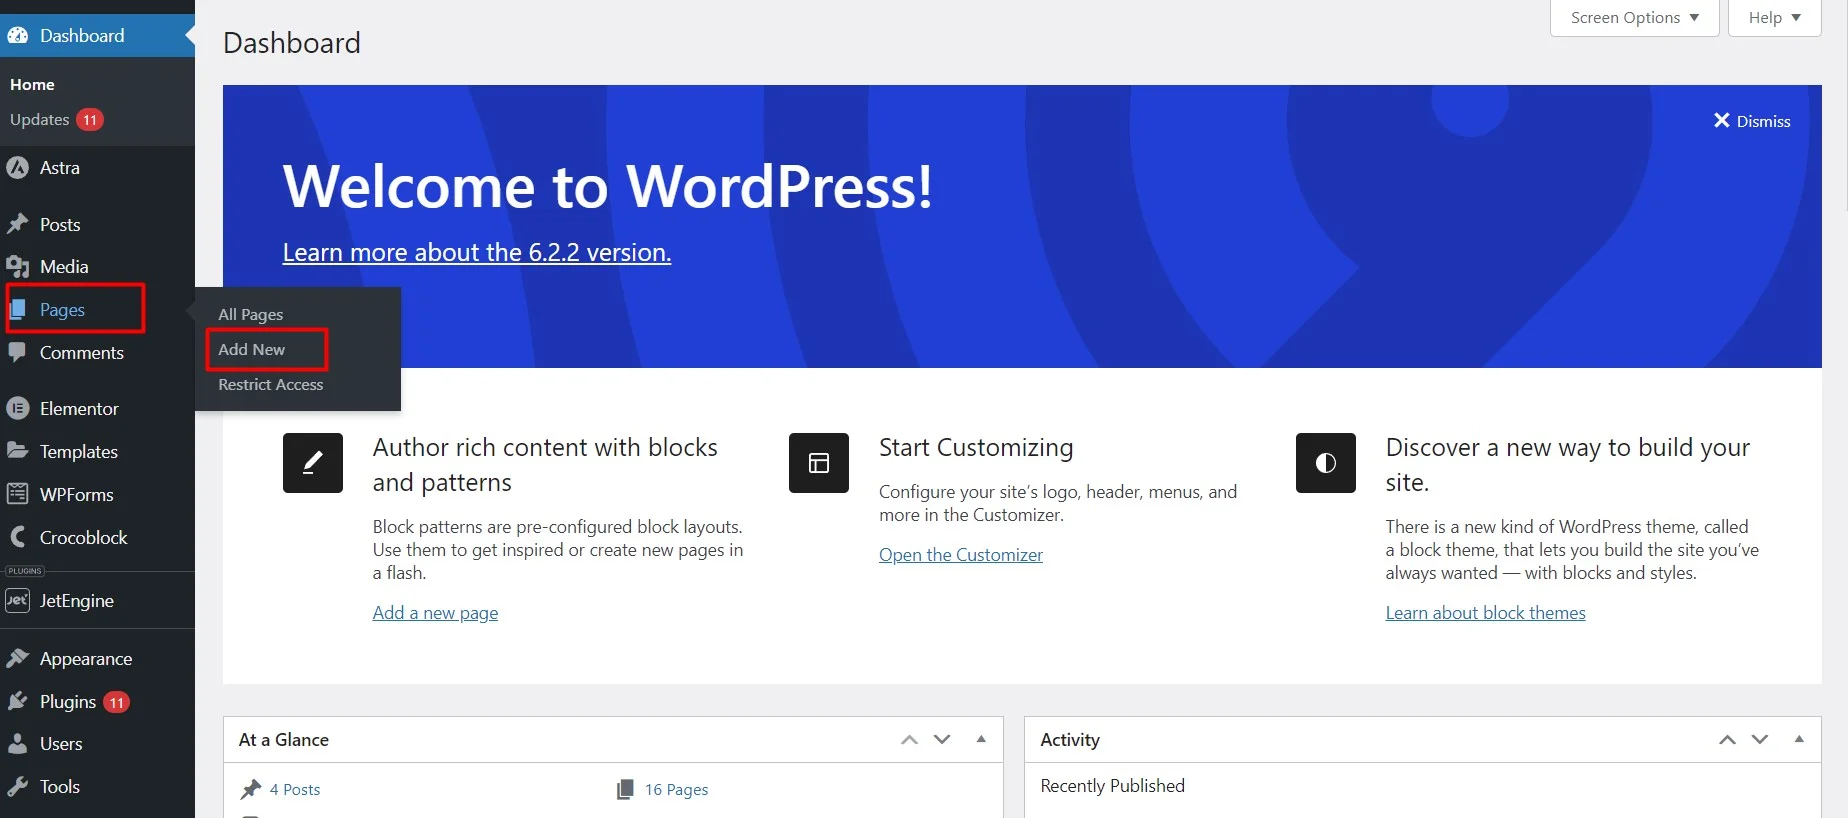
Create a new page
Go to your WordPress dashboard and navigate to “Pages” > “Add New” to create a new page where you’ll design your single post layout.
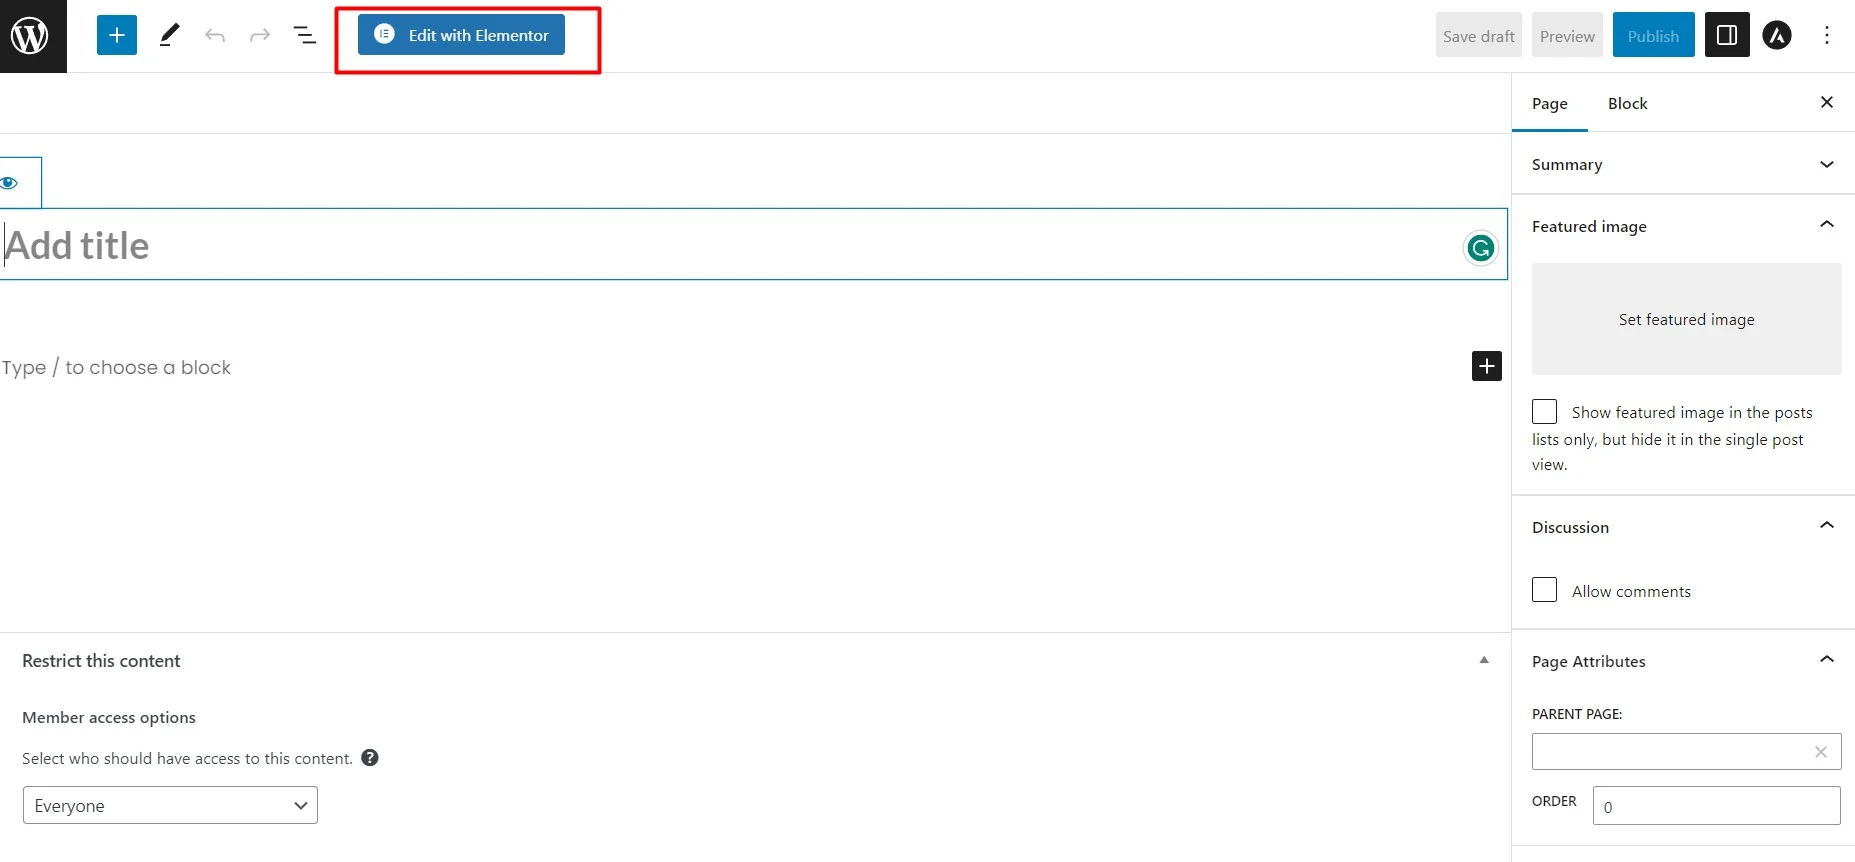
Launch the Elementor editor
Once you’re on the new page editing screen, click on the “Edit with Elementor” button to launch the Elementor editor.
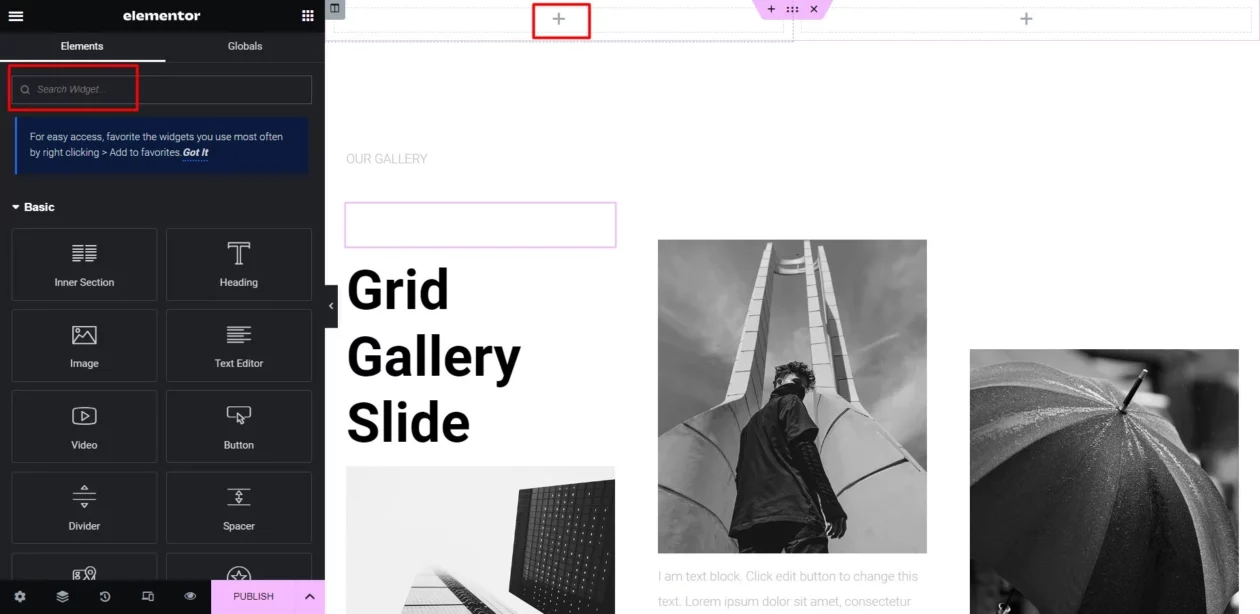
Add a new section
A blank canvas will be seen in the Elementor editor. Click on the “+” button to add a new section to your layout.

Choose a column structure
After adding a section, you’ll be prompted to choose a column structure.
Choosing the proper layout structure is crucial when creating a custom single post template with Elementor.
With plenty of options available such as two columns or three columns, you can easily appealingly showcase your content.
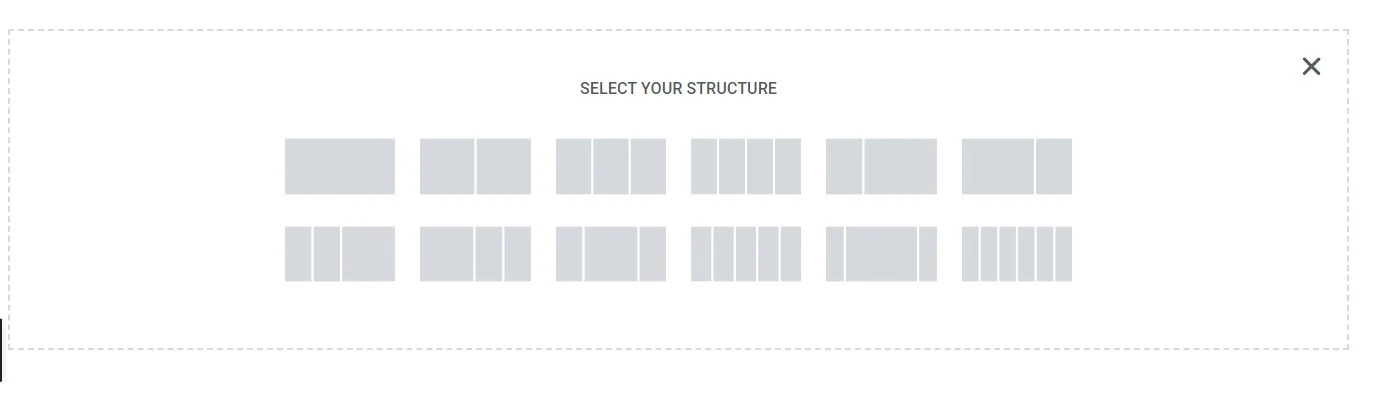
While choosing the layout structure for your template keep in mind the kind of content you would like to feature on it and ensure that it’s visually pleasing.
Choose a grid layout or structure for your content based on your preferences for text size, color, alignment, padding, and width.
Customize the section and columns
You can now customize the section and columns by adding different elements like widgets and tabs from the widget library to make your single post template more functional.
Adding widgets like related posts or author bios, adjusting the column widths, and setting background colors or images builds functionality into your template and gives it a professional touch.
Be sure to preview your work before publishing to ensure that everything is displayed correctly on your site.
Add dynamic content
To display the content from the single post dynamically, you need to use Elementor’s dynamic content feature.
To do this, click on the “+” button inside a column, search for the “Dynamic” widget, and select the appropriate widgets for the post’s title, content, featured image, etc.
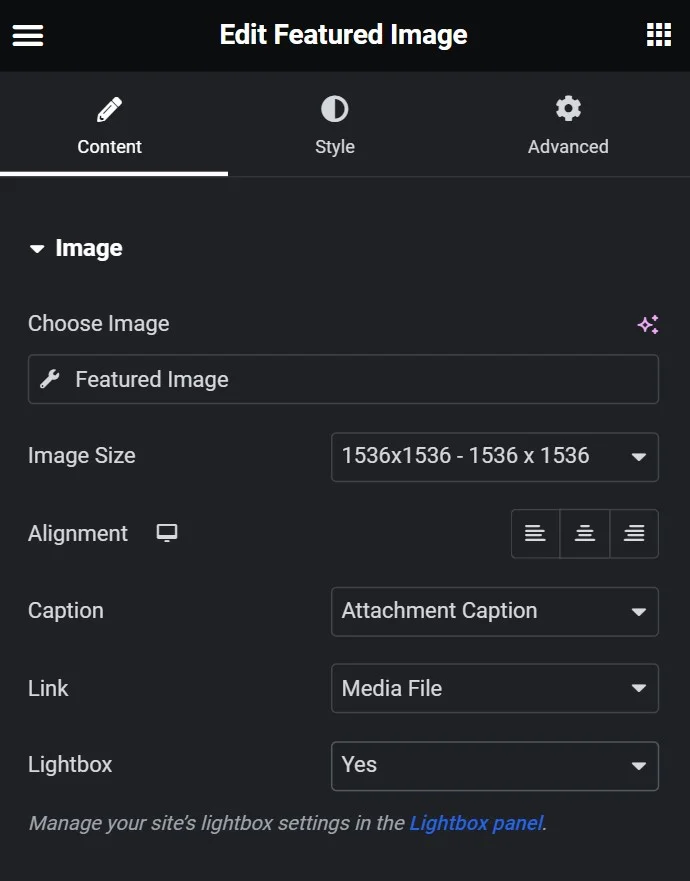
Adding and Customizing a Featured Image Widget
Enhancing the visual appeal of a single post layout with Elementor involves adding and customizing a featured image widget. This essential widget sets the tone for your post and captures attention right away.
Adding and Customizing an Elementor Post Info Widget
Customizing an Elementor Post Info Widget is one of the ways to enhance user engagement with your single post page.
Use Post Info Widget from the Elements panel & dynamic content feature to select metadata such as author or category.
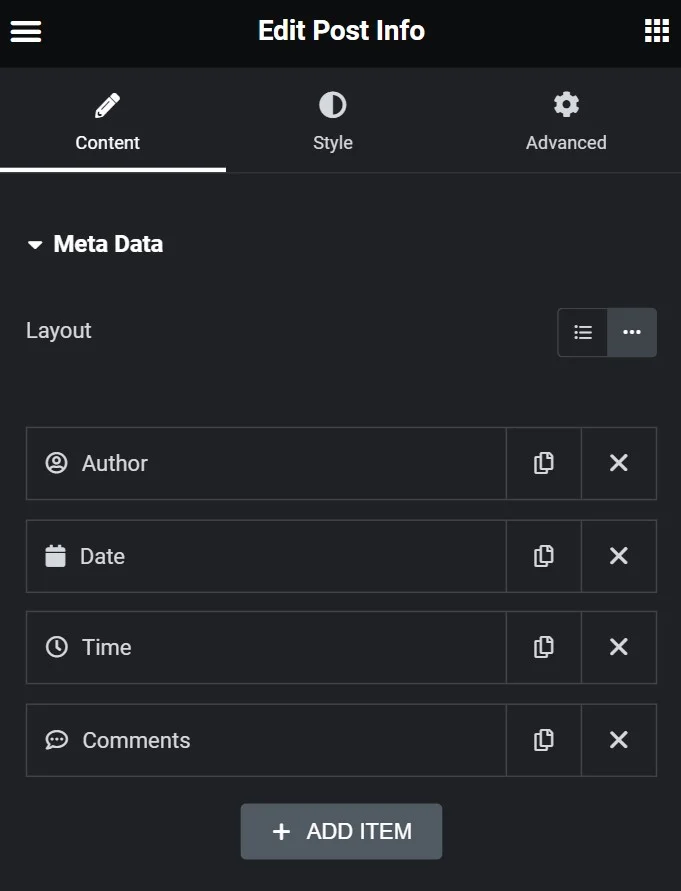
Display Conditions settings determine when & where this custom post info widget will appear on a single template.
This tutorial saves you a lot of time while helping you enhance functionality on your single template.
Adding and Customizing a Post Title Widget
Adding and customizing a post title widget in Elementor can help your blog stand out and improve user engagement.
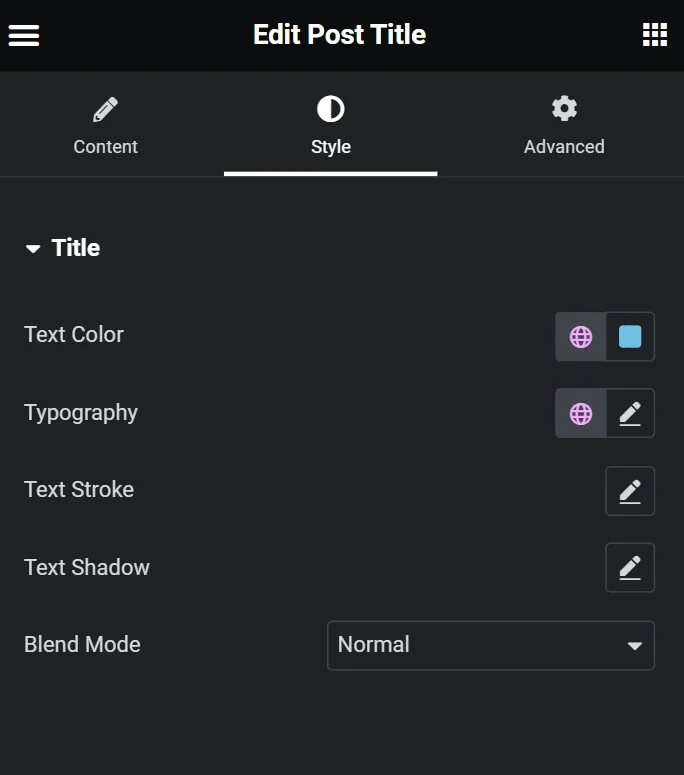
With Elementor’s post-title widget functionality, you have a lot of options available to create a unique design that matches your brand.
You can customize the text color, typography, alignment, and text-shadow, and even add dynamic content like the author’s name or date.
Adding Social Share Options with the Social Icons Widget
The Social Icons Widget by Elementor enables users to add social share options easily. It offers customization options for the icons’ style, size, and color that align with your website’s branding.
Using this widget with popular social media platforms like Facebook or Twitter can help you expand the reach of your blog.
Encouraging users to share content on social media helps increase traffic to your website without spending extra time on marketing efforts. The Social Icons Widget is a great tool for achieving this goal within a few clicks.
Adding and Customizing an Author Box Widget
To enhance your blog, you can add an author box widget that displays the author’s profile picture, bio, and social media links.
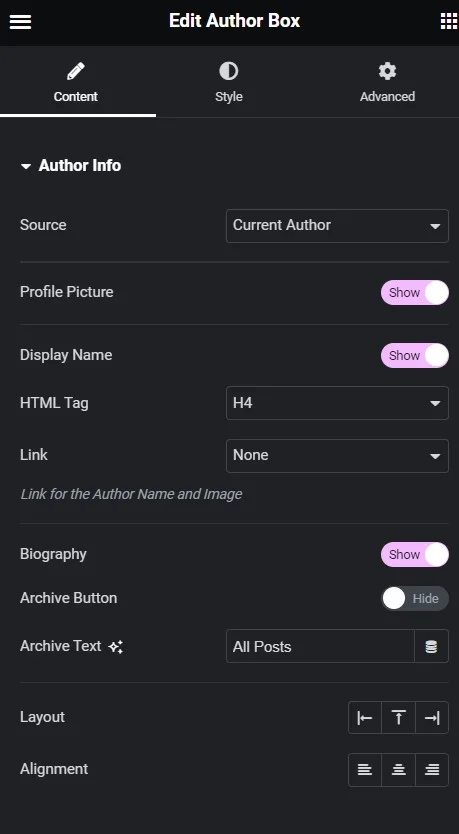
With Elementor’s numerous customization options, it’s easy to adjust the widget style to match your theme. Proper placement and design ensure that it doesn’t disrupt user experience but rather adds credibility to your blog post.
Moreover, including an author box improves search engine ranking by providing additional information about post authors’ expertise. By using this fantastic feature of Elementor Pro, you can make your blog stand out from others without spending any additional time coding.
Adding Post Navigation with the Post Navigation Widget
If you want to improve user experience on your WordPress website without spending a lot of time on it, you should know how to create a single post layout in Elementor.
To add post navigation functionality with Elementor’s Post Navigation widget, simply drag and drop it onto your page template or single post template.
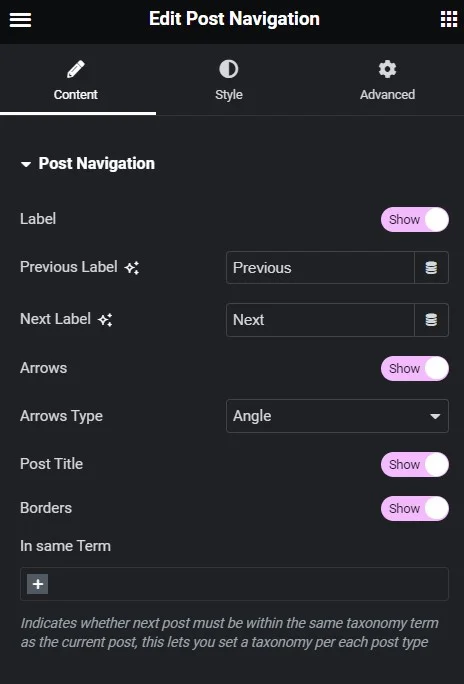
From there, customize the widget’s display conditions by selecting which post type or taxonomy it should apply to. You can also choose whether to display only within a particular category or tag.
Additionally, take advantage of other widgets like Post Info Widget or Post Grid Widget for different elements on your blog layouts.
Displaying Related Posts with the Posts Widget
If you want to keep visitors engaged on your single post page, consider using the Posts Widget in Elementor to display related content. This powerful widget lets you customize how many posts are displayed and even filter them by category or author.
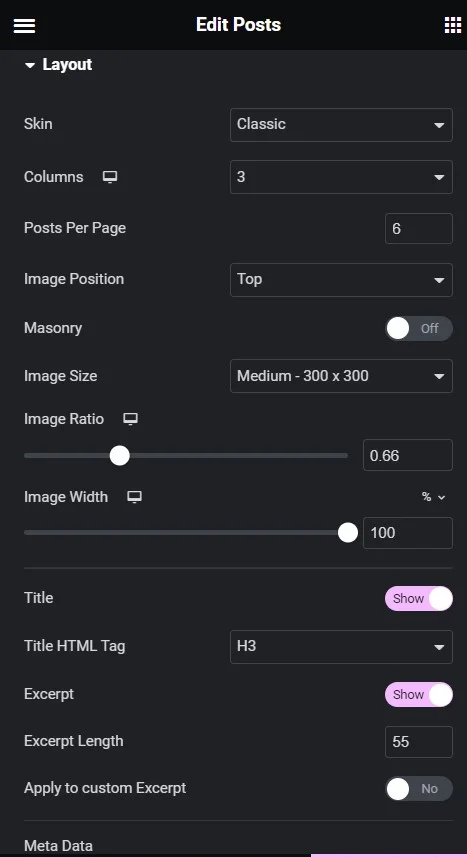
This can help users discover more content that they’ll enjoy, all while spending more time on your website.
Whether you’re using Elementor Pro or the free version of this popular WordPress page builder plugin, implementing this functionality is straightforward.
Adding a Comment Section with the Post Comments Widget
Adding a comment section with the Post Comments Widget is essential for engaging readers on your WordPress site.
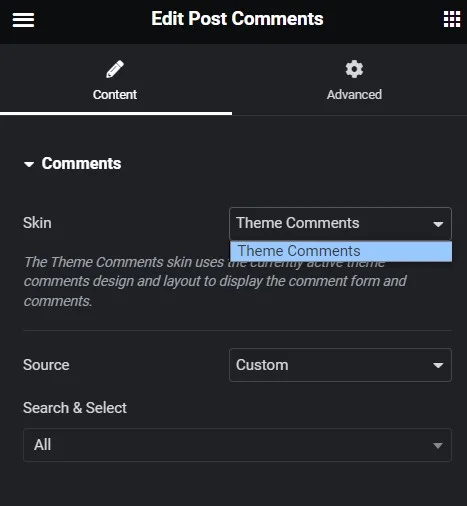
In the widget panel, search for “Post Comments” and drag it onto your template. Customize its width, metadata, text color, typography, and alignment from the Style tab. You can also change its functionality by exploring the Display Conditions and Dynamic Content tabs.
Configure the dynamic content
Once you’ve added the dynamic widgets, you’ll need to configure them.
Style your layout
Customize the appearance of your layout using Elementor’s styling options. You can modify fonts, colors, spacing, and other design elements to match your website’s branding.

Preview and publish
Once you’re satisfied with your single post layout, preview it to see how it looks. If everything appears as expected, click on the “Publish” button to make your layout live on the selected page.

Creating a Single Post Page Template with Elementor
If you want to customize your single post pages in WordPress using Elementor pro, you can create a custom single post page template. This will help you achieve consistency across all your blog posts without spending a lot of time.
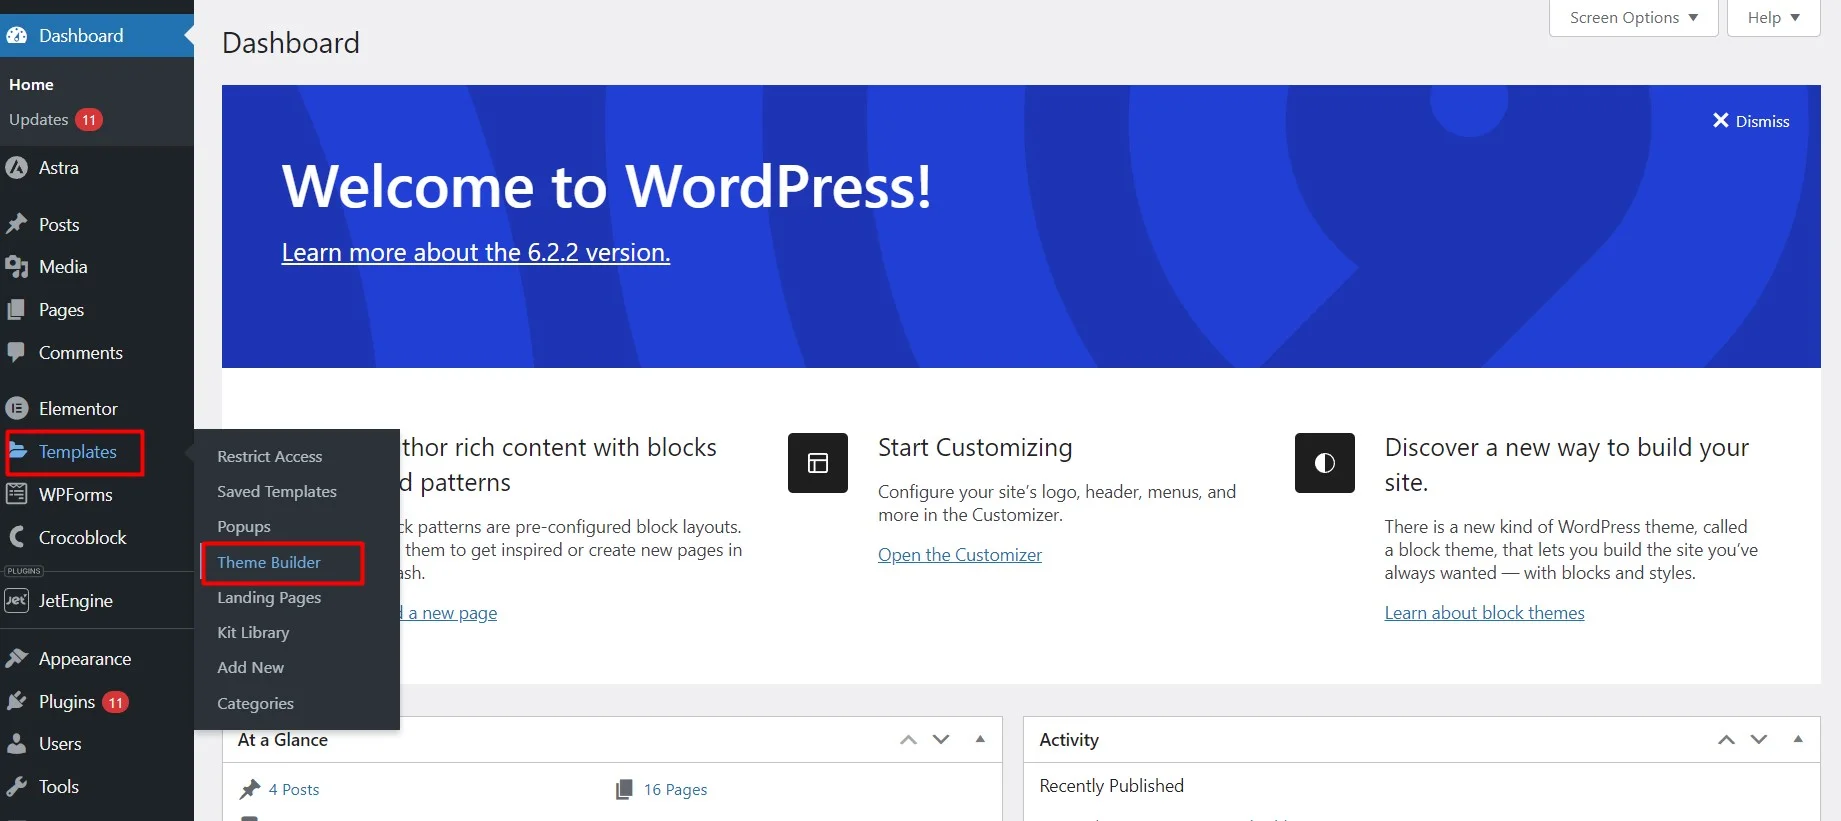
To do this, go to Templates > Theme Builder > Single in your WordPress dashboard.
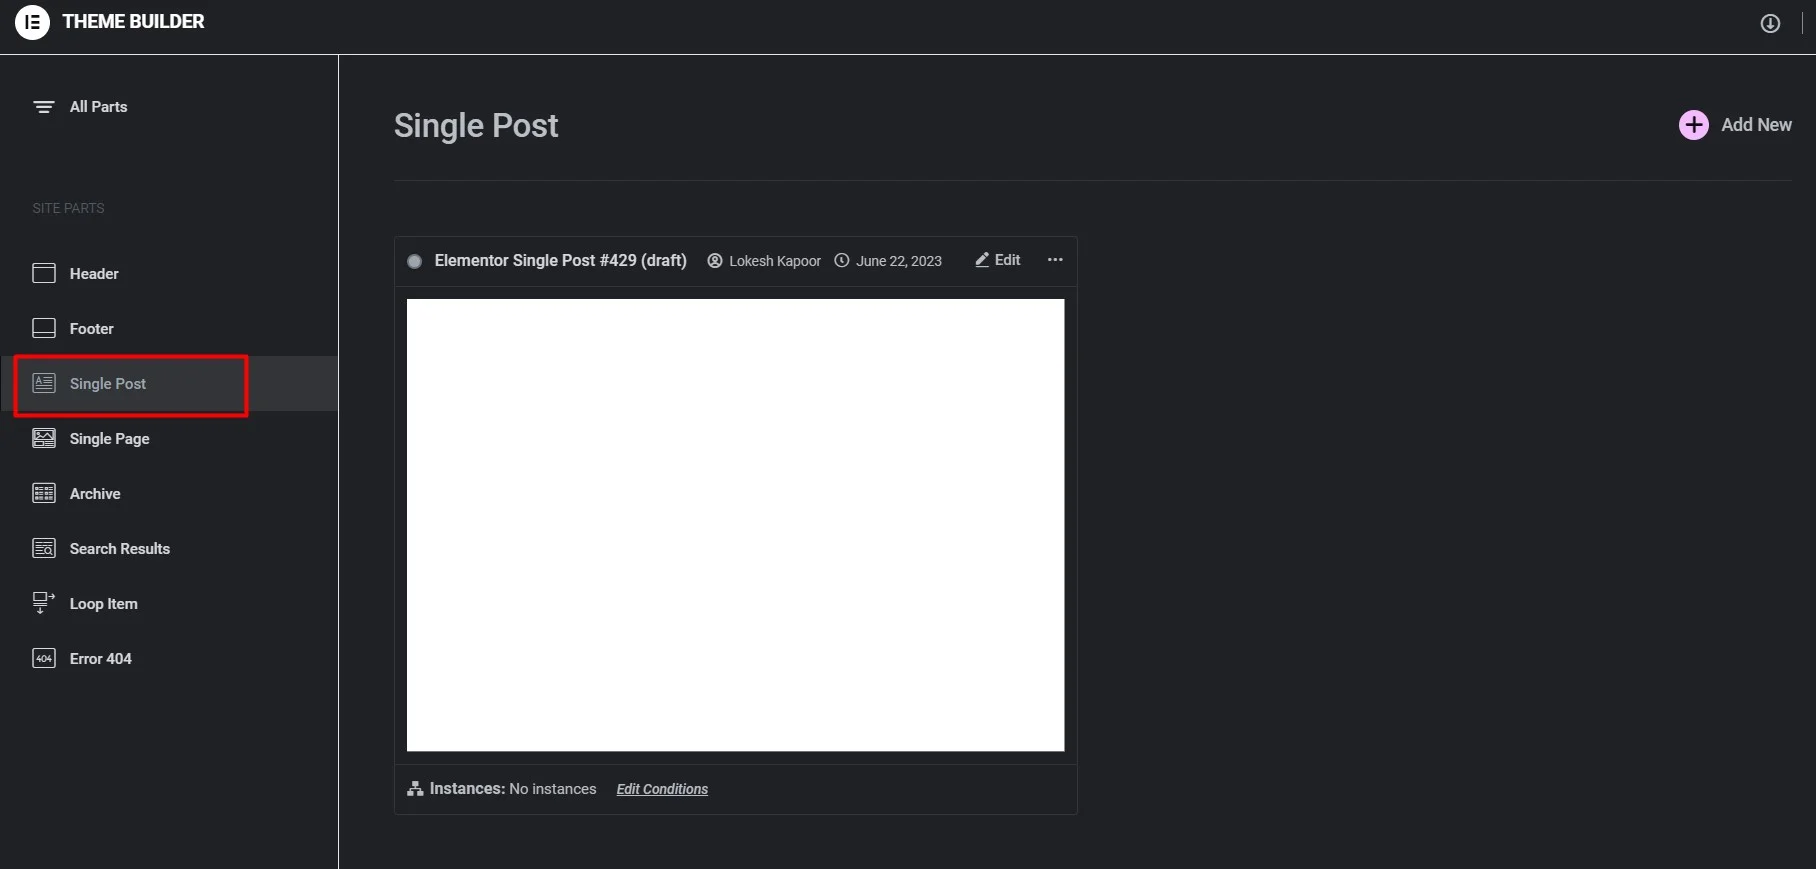
Then add a new template and press insert.
Next, select the layout structure for your template and add different elements such as the Post Title widget, Featured Image widget, Post Content widget, Author Box widget, Related Posts widget, and Post Comments widget.
To save all new blog templates, click the publish button.
FAQs
What is Elementor?
A well-liked drag-and-drop page builder plugin for WordPress is called Elementor. Without any coding experience, you may make unique layouts and designs for your website.
Can I customize the design of my single post layout using Elementor?
Yes, Elementor provides a wide range of customization options. You can change the colors, typography, spacing, and styling of your layout using the style settings available for each element. You can also add custom CSS if you want to apply more advanced design modifications.
Can I use different single-post layouts for different posts👀?
Yes, with Elementor, you can create multiple single-post layouts and assign them to different posts based on your requirements. You can use Elementor’s conditions feature to control which layout should be displayed for specific posts or post categories.
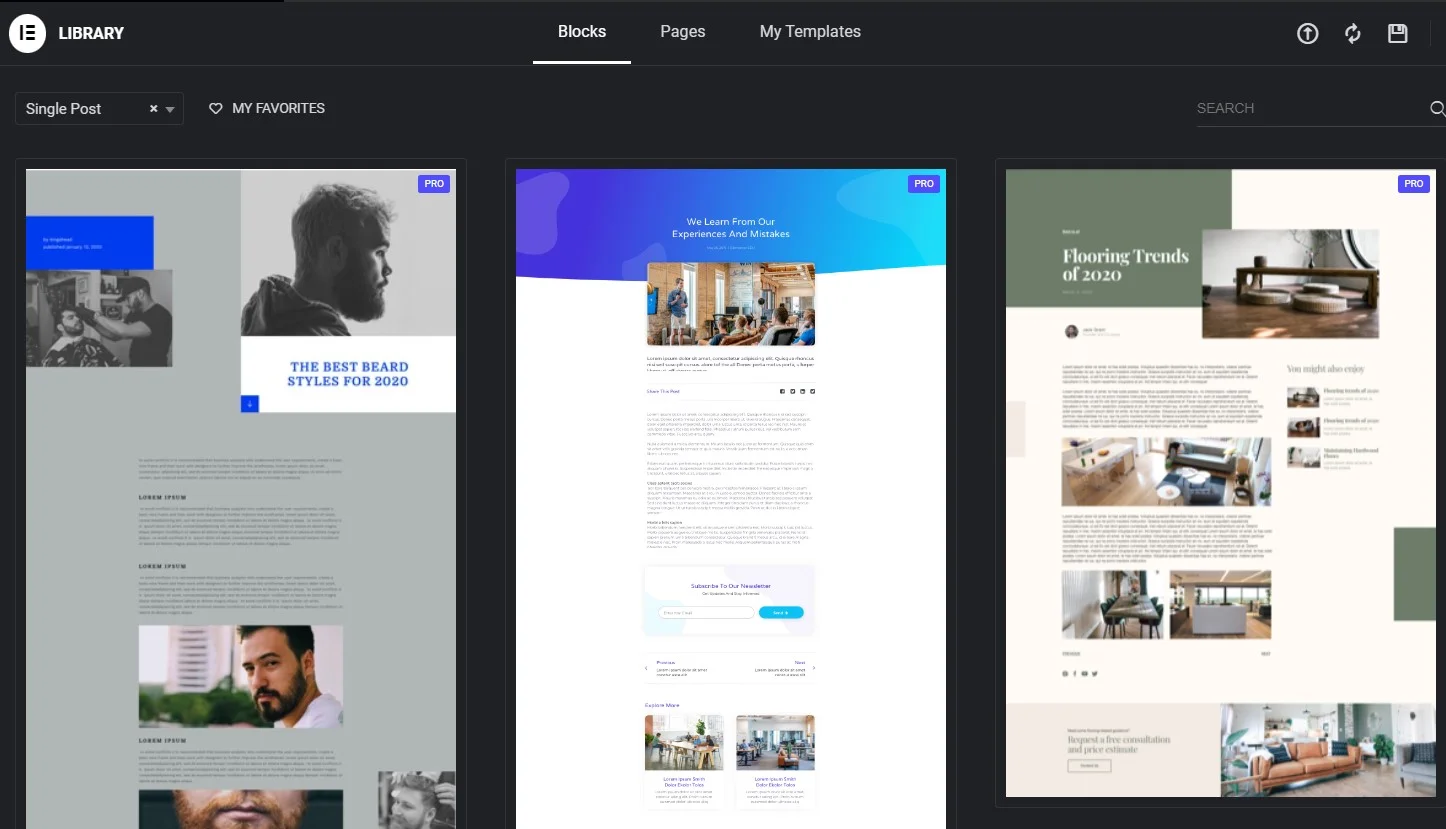
Can I use pre-designed templates for my single post layout?
Yes, Elementor offers pre-designed templates for various sections of your website, including single-post layouts. You can choose from the available templates and customize them according to your needs.
Can I preview my single post layout before publishing it?
Yes, Elementor provides a live preview option that allows you to see how your single post layout will look on the front end of your website. You can make adjustments and modifications in real time until you are satisfied with the result.
Is Elementor compatible with all WordPress themes?
The majority of WordPress themes are built to work with Elementor. However, some themes may have conflicting styles or scripts that could affect the display of your layouts. It’s recommended to use a well-coded, compatible theme for the best experience with Elementor.
Can I revert to the default single post layout if needed?
Yes, if you ever want to go back to the default single-post layout provided by your theme, you can simply deactivate the Elementor template you created for single posts. This will restore the default layout defined by your theme.
Additional Tips and Resources on Elementor Blog Layouts
To optimize your blog using Elementor, there are a few additional aspects you should keep in mind. Start by making use of pre-designed templates, experimenting with post layout options, and utilizing related posts and social media sharing buttons.
Another tip is to take advantage of dynamic content features like an automatic population of metadata.
Lastly, don’t forget to explore Elementor’s community forums and resources for more ideas on how to improve your website.
Conclusion
Creating a visually appealing and informative single-post layout is essential in providing your audience with an enjoyable reading experience. With the help of Elementor, you can easily create a custom single-post layout that aligns with your brand’s style and improves user engagement.
From adding featured images and post information to incorporating social share options and related posts, Elementor offers a wide range of widgets that you can customize to fit your needs.
If you want to learn more about how to perfect your single post layout using Elementor, check out our additional tips and resources mentioned above.